We were lucky enough to have a guest contractor this past weekend. Ben's friend Mike of
Katek Construction in Ambler, Pennsylvania spent the weekend hard at work on our bathroom- showing Ben the correct tiling technique along the way.
But before the guys could get going on the tiling the plumber and electrician needed to get their stuff done while the walls were open and everything was exposed.
The PlumberMuch of the plumbers work happened in the basement. New piping was installed throughout the house- the old pipes were, just that.. very old! The water pressure was terrible because of the rust build up from age. While the new piping wasn't something that necessarily had to be done immediately we figured we might as well get it done while everything was open and exposed.
 new set up for the shower
 new piping for the pedestal sink
But the major more visible work that the plumber got done was relocating the sink and radiator. I first posted about the new layout
here.
Originally the bathroom layout looked like this..

It was a little tight getting into the bathroom because the sink was practically installed in the middle of the doorway. And the awkward radiator placement felt like a huge waste of space.

So we opted to swap them and chose to go with a pedestal sink so we could put the radiator underneath it..

Actually planning out when we're going to get everything done is a little bit of a challenge since we are trying to do the work ourselves and because it's our only bathroom. We're trying to make it as functional as possible (I just can't let go of the toilet), so the plumber was nice enough to install the pedestal and the new toilet until we're ready to install the floor.

Above you can see the radiator hasn't been installed yet. The plumber pulled it out and kept it out long enough so I was able to give it a fresh new coat of paint. I must say it was a little challenging- not the painting, but cleaning it out enough beforehand (decades of dust collected in all of the little crevices).

But after some sanding, cleaning, a coat of primer and two coats of paint we now have a clean and very white radiator.

I just love it and can't wait to see it in place.
And of course what's a new bathroom without a new toilet?

The Electrician
The electrician has also been working all over the house. It wasn't surprising that lots of rewiring had to be done- and we opted to install new light fixtures to lots of very dark rooms in the house. But in the bathroom there were really only three major things we needed from him.
1. an outlet
 Can you believe there wasn't one in there? He positioned it just to the right of the sink- so it's not a huge eyesore and but still in a convenient location.
2. an exhaust fan
 Definitely something every bathroom should have. Installing an exhaust fan is a great way to help preserve the walls and keep moisture out of the space.
3. lighting
 With the new high ceiling (you can read about it here) we opted to go with a flush mount fixture over the original recessed light we had discussed. Unfortunately I have yet to find one but I've told Ben from the beginning- I have no problem living with light bulbs, I just don't want to rush and buy something I don't absolutely love.
The Tile Guys
So on Friday both the electrician and the plumber finished up their work and Saturday morning Ben and Mike started in with the transformation.
Installing Insulation..

Because the sheetrock had been removed it gave them the perfect opportunity to insulate the walls. Now we'll have a very toasty bathroom!
Installing the Hardibacker..

After the insulation they installed hardibacker around the tub walls. The hardibacker is much stronger than sheetrock- it will hold up against mildew and mold.
Tiling..

Once the hardibacker was up they started the very slow process of tiling.
 It truly was a two man job. Mike cut while Ben tiled.


Unfortunately the tiling took so long they were able to finish the installation but they didn't get to the grout. Luckily Ben was feeling like that was something he could handle by himself and last night he finished it up..
Spreading the Grout..

We opted to go with a grey grout- I love the contrast with the white subway tiles.

Once the grout was spread and covered the entire area, Ben washed it off and we got a hint of the finished product.

Wiping Down with Cheese Cloth..

I'll post the big "reveal" when the bathroom is complete, but at least you got a peek.
We want to send a quick thanks to Mike for his amazing help this weekend. Unfortunately we weren't such great hosts this time around- without a kitchen he didn't get the fresh baked goods he's gotten used to over the years and Ben put him to work all weekend. But we so appreciate all he did to make this process much less painful than it could have been. At least next time he comes to visit he'll get to take a shower! Thanks Mike!
And now on to the floor..
 It turned out really well and after we let it set for a night on the following afternoon the toilet and pedestal were installed once again.
 Ben had to cut out the 2x4 that ran up the center and framed the area around the medicine cabinet..
 With the studs reconfigured, Ben installed sheetrock and we screwed in the medicine cabinet.
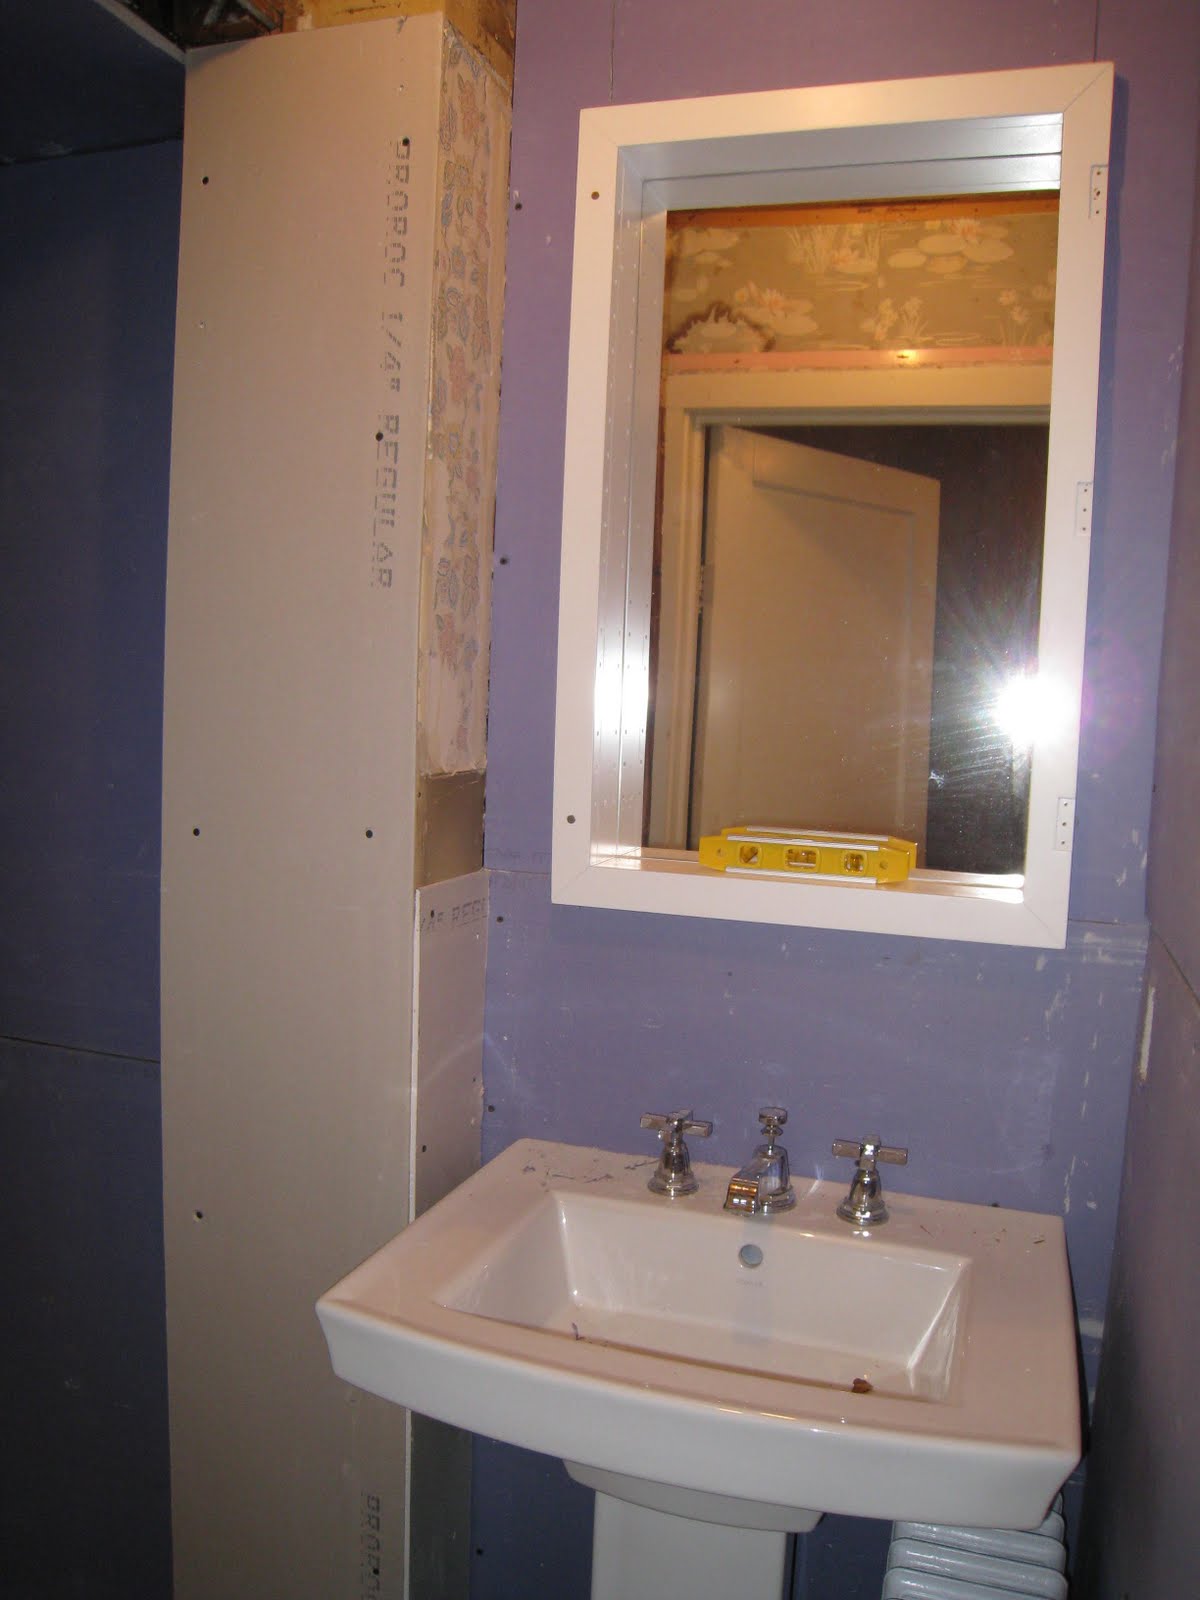 Notice we removed the door (at the suggestion of Restoration Hardware). Originally Ben thought it would be impossible to reinstall the door and he wanted to keep it intact, but because the weight of the door was so heavy I thought we should follow the directions. Another little side note: we photographed the level on purpose. Ben said he never knew the bubble could actually make it to the middle of the center lines..
 Yes there is still a long way to go- the taping and sanding of the walls, finish paint and moldings. We even need a light fixture. But we're thrilled with the outcome- especially considering what we started with.
 Next up..


