 Looks like he pulled through.. 2010 is off to a great start!
We look forward to sharing our continued renovating adventures with you.. Happy New Year!!
Looks like he pulled through.. 2010 is off to a great start!
 While he wasn't able to finish the whole job- he has to come back to install all of the crown and base moldings, but he worked hard to get all of the cabinets in so Capital Stone could come in and template for our counter tops this afternoon.
 Obviously all slabs vary but at least you get the idea of the coloring and movement I'm going for. Luckily Capital Stone was nice enough and planned to come out so quickly to template. They even said we could possibly have our counter tops next week!
 wrapping the pipes with heat trace- a wire that conducts heat, then wrapping the wires with insulation in hopes that tonight's 5 degree temperatures don't cause another freeze.

 I'm pretty sure this is Ben trying to hammer in one of the my nails...
 We were able to get a little variation in the color of the boards, but they're still a little too "golden" for me, so I'm planning on lightly staining them with a custom stain we've already purchased.
 To prep for the painting I first used a compressor on the radiator to remove all the loose dust and dirt. Then I sanded to get rid of the old chipped paint and any extra dirt. After the sanding process was over I wiped the unit down with bleach and once it was dry I primed it with a spray primer.
 With the primer dry I started spraying it with the semi gloss white paint. I went over it and over it- going through three cans, but in the end I was pleased with the result.
 But then again, anything beats what we started with.
 I still have two and a half windows to go- its been a little bit of a challenge because of the layers and layers of old paint. Not to mention I take frequent breaks- even with a dust mask, working with old lead paint isn't fun!
 And the plumber disconnected the sink allowing us to remove the final base cabinet..
 Once they arrived I called Home Depot to set up the installation. I was told that the installer would call me, but I haven't heard from them yet. I'm dying to get them in.. so installers, if you're reading this call me!!! I'm crossing my fingers I'll be able to get them in this week because I've put off the appliance delivery yet again (about the 5th time) and hope that Friday's delivery won't have to be postponed.
 hence the new obstacle on our living room floor. I apologize for the mess, but we might as well be honest- I consider our living quarters fairly "rough" these days. Not to mention our housekeeper (me) has been a little preoccupied and hasn't really had the time to maintain the household.. but at least I'm keeping everyone fed!
 Ben spent the afternoon insulating three out of four walls- we opted not to insulate the wall between the living room and kitchen.
 And while he finished up that I got the fun job of removing all of the staples used to hold up the ceiling tiles.
 Ben cut the sheetrock panels with a knife and we (yes Ben and me) cut out the outlets with a dremel.
 Once we were done with the sheetrock it was getting late, but we still wanted to get moving on the ceiling. Because we're not quite done yet I'll wait to post about the ceiling later this week. Also happening this week- sanding and painting the kitchen radiator, sanding the windows and prepping the rest of the kitchen for the installation..
 But because we are doing such an over hall in the kitchen we thought it would be a shame to ignore the big elephant in the room. Again, we couldn't imagine why anyone would mask a perfectly fine ceilings with ugly tiles, so we prepared ourselves for a disaster and we were pleasantly surprised (you can count how many times that has happened throughout the renovation process on one hand).
 We discovered that nailing strips were put into place to hold up the boards- which will make it easier for us to install a new ceiling when we figure out what we're going to do.
 A few weeks ago I posted about a kitchen design that was very similar to ours here. I loved the idea of the reclaimed wood on the ceiling and had mentioned to Ben that I might want to take advantage of our clean slate and do something a little more interesting. He quickly told me he loved the idea but didn't think it would work- he was afraid we'd have nothing to secure the wood to. But now that we have nailing strips he said it may still be a possibility.. I'm crossing my fingers!
 and over the weekend Ben and I began hacking away at the kitchen walls..
 Ben cut the base cabinet in half so we could remove the area that was not attached to the sink. The plumber will come in and disconnect the sink before we remove the other half.
 Just a little treat found underneath the cabinets..
 There were two existing corner units that proved to be the most difficult to remove. They were built in such a way that they almost appeared to be original to the house. We quickly found out they were not (the corner cabinet was built over many old layers of vinyl flooring) but they were fastened to the walls in such a way that in many areas the walls came off with the pieces.
 By Sunday night we were exhausted and while we still had a ways to go Ben started cleaning up and we decided we'd finish the rest later this week..
 I've made my way through a few more areas the last couple of days and tonight we have to finish it up by removing the crown molding and getting rid of the rest of the nails.
 to having this..
 The black iron piece above is the new ash door that has yet to be installed- it's a little smaller than the one that we had to replace.
 I was told that because we were going with such a great design we would be able to remove the doors and use a freestanding screen instead- something I've been fighting for.
 And while Ben worked on the bathroom I started stacking. It may have taken me an entire Saturday, but I was happy to do it- knowing that in the end we'd get our fire.
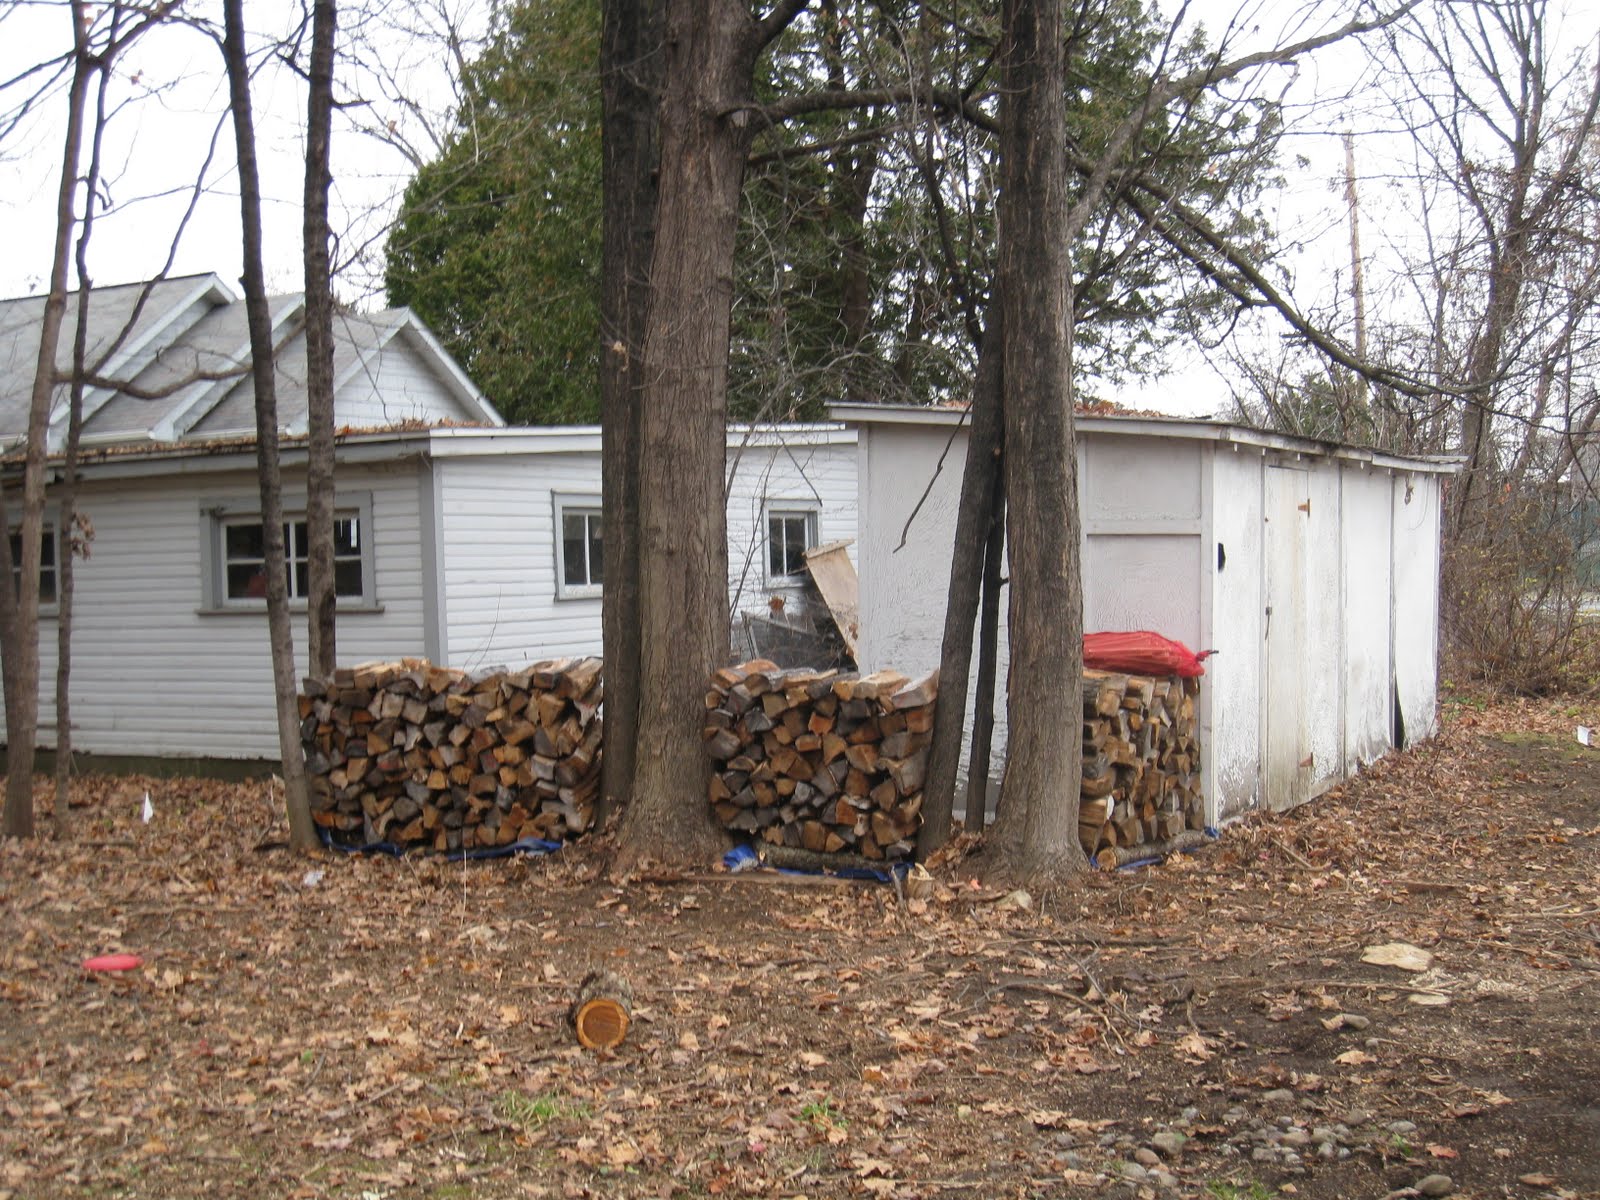 And on Monday night we finally did..
 Next on the list is removing the doors- I'm hoping to make my way to Saratoga Fireplace to buy a new screen and some proper tools later this week. We also have to have the chimney repointed and we're going to work on the facade. More to come in the next few weeks.


